


Blackmagic Design DaVinci Resolve Mini Panel
DV/RES/BBPNLMINI
DaVinci Resolve Mini Panel
This compact panel offers a massive number of controls! You get everything on the Micro Panel as well as buttons for switching tools, adding color corrector nodes, applying secondary grades and using Power Windows. The LCD screens at the top display menus and controls for adjusting the selected tool.
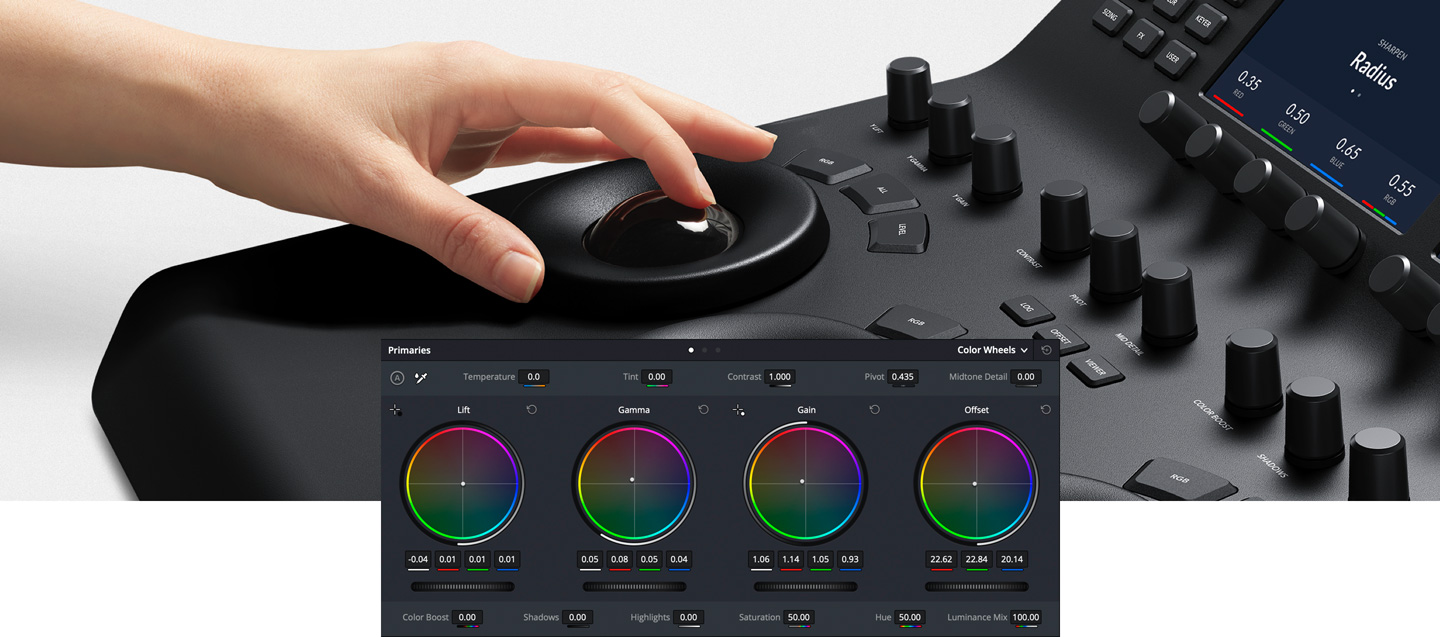
Professional Trackballs
The trackballs let you adjust the colors in an image based on lift, gamma and gain tonal ranges. Unlike a mouse and keyboard, you can manipulate multiple trackballs simultaneously to create unique effects. The smooth gliding rings around the trackballs let you set master levels and establish dynamic contrast. Keys above each trackball reset the color adjustment, level adjustment or both. Three keys at the top of the DaVinci Resolve Mini and Micro Panels let you switch between primary and log wheel modes, activate offset, temperature and tint controls and turn on your full screen viewer output. The DaVinci Resolve Advanced Panel has a fourth master gain trackball to adjust the entire image.
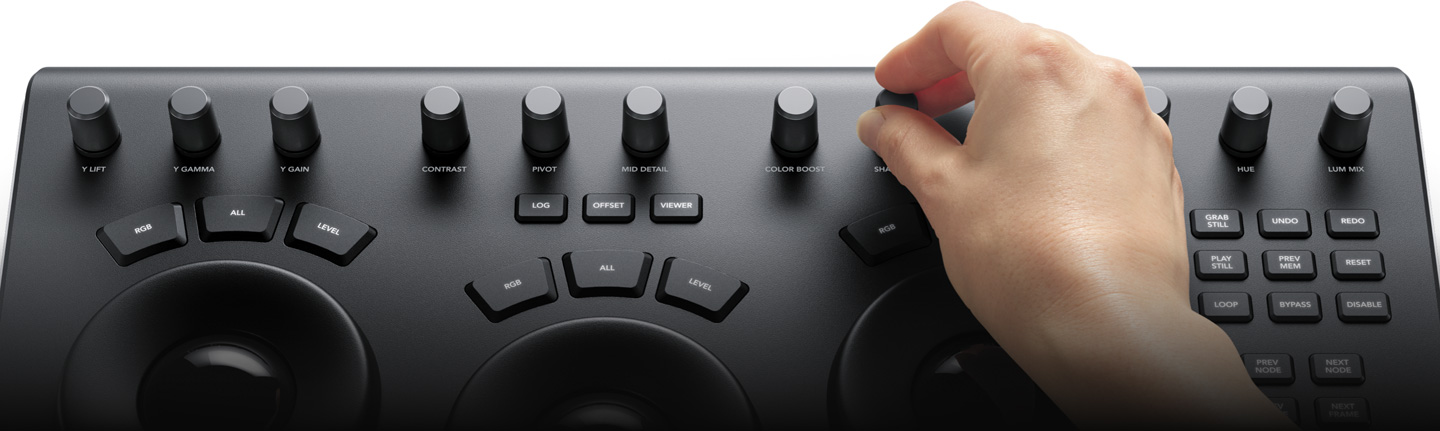
Primary Adjustment Controls
Primary adjustment controls affect the luminance and chrominance of your entire image using a variety of tools that target specific tonal and hue ranges. These tools represent the most common adjustments required to produce dynamic imagery, making them a popular choice for photographers, graphic designers and colorists working on a tight deadline. The DaVinci Resolve Micro Panel and Mini Panel include 12 primary color correction control knobs that make it easy to quickly adjust image contrast, saturation, hue, temperature, tint, midtone detail, color boost, shadows, highlights and more. All knobs can be pressed to instantly reset the control so you can easily experiment with new looks!


Original Footage
Y Lift, Y Gamma and Y Gain
The dedicated lift, gamma and gain knobs, which are sometimes referred to as shadows, midtones and highlights, allow you to adjust the luminance, or brightness, of each specific area of an image’s tonal range. With these specific controls, you adjust brightness without affecting color saturation.

Original Footage
Contrast and Pivot
Contrast is used to change the tonal difference between light and dark parts of an image. Pivot adjusts contrast "balance" which can offset the contrast tonal ranges. Once contrast is set, use pivot to refine the tonal center of tonality, brightening or darkening the image while retaining contrast.
Original Footage
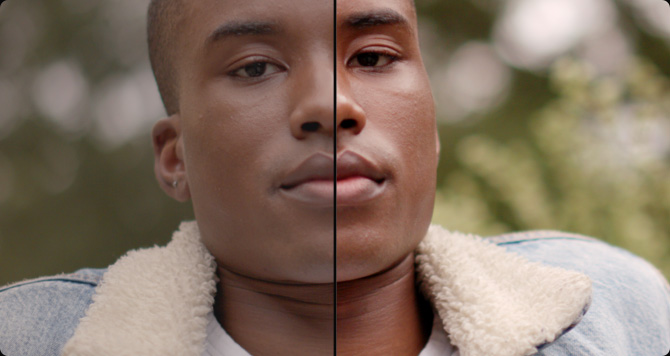
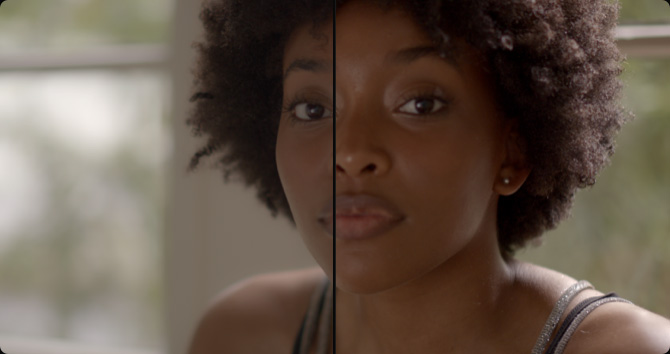
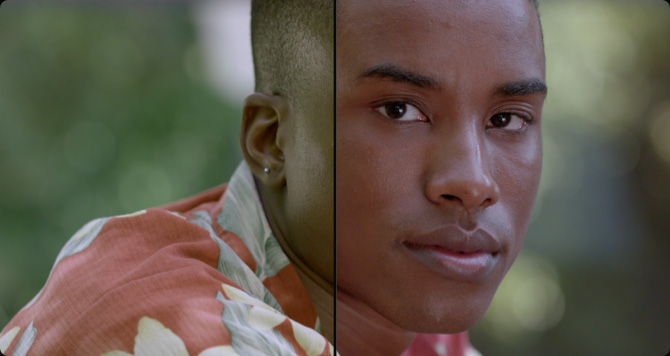
Midtone Detail
Increasing or decreasing midtone detail changes the contrast on edge details in an image. Adjusting midtone detail changes the perception of sharpness and definition. It can be used to accentuate the stubble on an actor’s face, make a scene look sharper, or to gently defocus skin for beauty work.

Original Footage
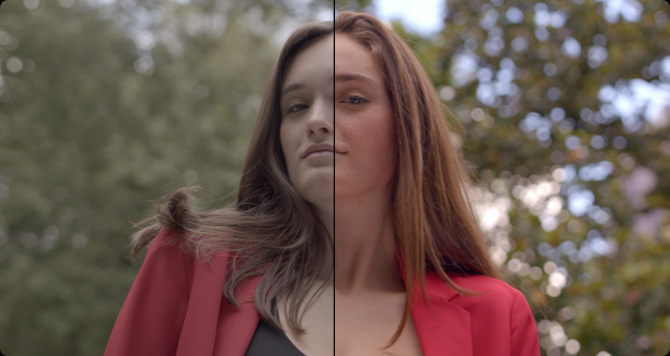
Color Boost
Color boost intelligently adjusts areas of low saturation in an image while leaving heavily saturated areas alone. This results in a more subtle and natural increase of color. Sometimes referred to as a vibrance, color boost is a great way to make colors pop without over saturating the entire image.
Original Footage
Shadows and Highlights
Shadow and highlight knobs let you lighten and darken shadow detail or retrieve blown out highlights in high dynamic range images. They do not affect the midtones, allowing you to achieve a smooth blend and more natural result between the retrieved areas of the image and the unadjusted midtones.

Original Footage
Saturation
Use to adjust overall image saturation. At higher values, colors appear more intense, while at lower values color diminishes. Saturation can be decreased completely until all color is gone, leaving a grayscale image. Combine with contrast and pivot to produce striking black and white imagery.
Original Footage
Hue
The hue knob lets you rotate all hues in an image or selected area around the perimeter of the color wheel. The default setting is 50, which retains the original unaffected distribution of hues. Use with secondary selections to quickly adjust specific hue ranges, like blue skies or green trees.
Original Footage
Luminance Mix
The luminance mix control changes the balance between your color adjustments and Y, or luminance only adjustments. When using the Y channel lift, gamma and gain controls, a luminance mix of 100 lets you adjust color independent of brightness, which is ideal for color balancing and matching footage.
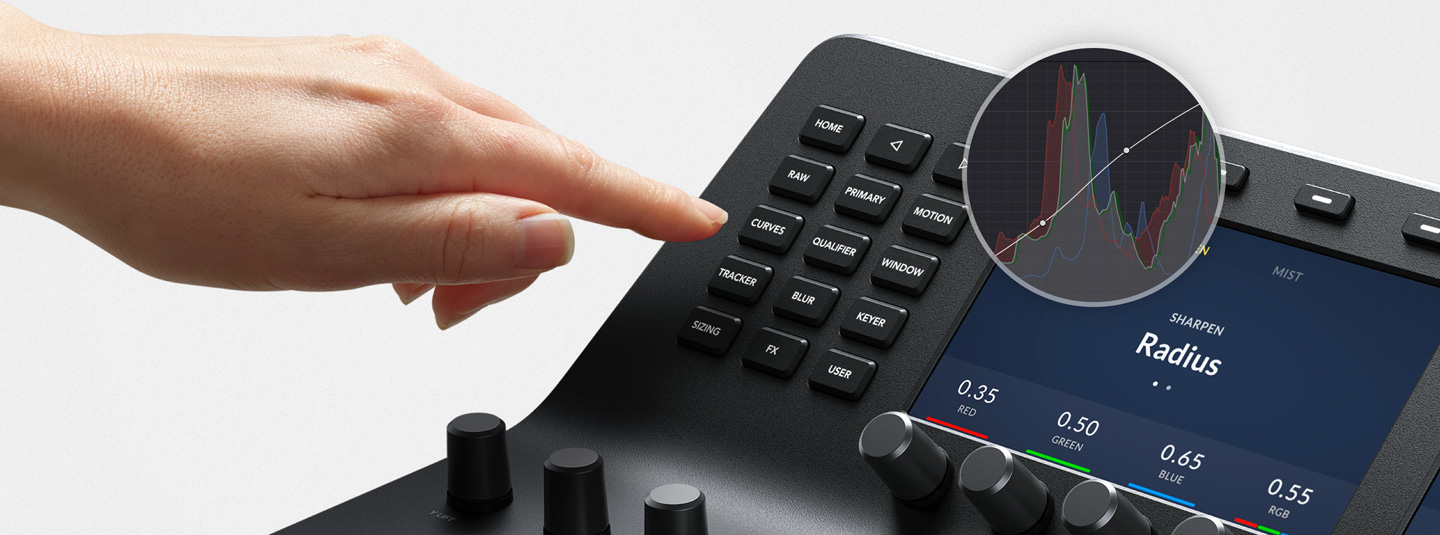
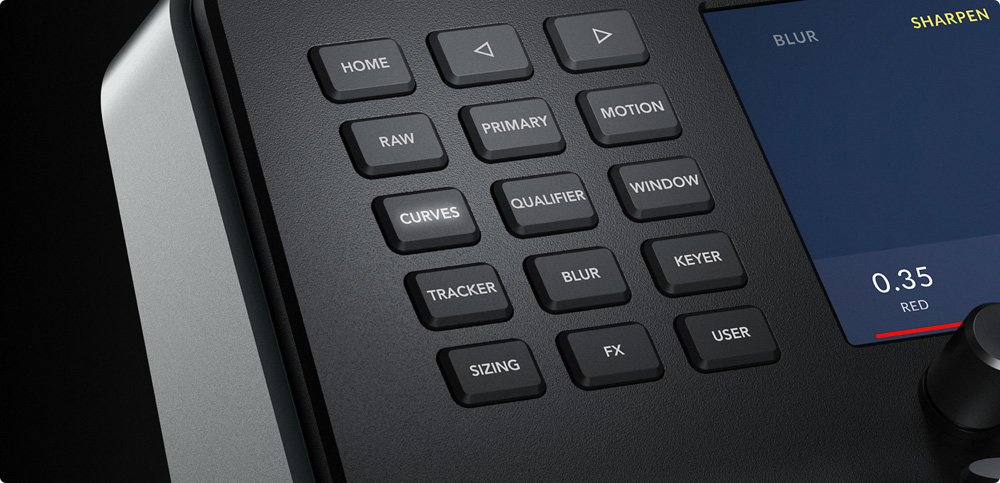
Quickly Change Tools
Dozens of creative color grading, effects, and technical tools are organized in DaVinci Resolve’s color page in the form of individual palettes. This way, the program is able to feature a variety of intensive toolkits that support a wide range of workflows, while keeping the interface tidy and user intuitive. The DaVinci Resolve Mini Panel and DaVinci Resolve Advanced Panel include dedicated feature buttons that let you quickly access the color page palettes, so you don’t have to switch back and forth between the mouse and panel. With the push of a button you can easily access tools such as the RAW palette, primary color correctors, curves, qualifiers, windows, tracker and many more.
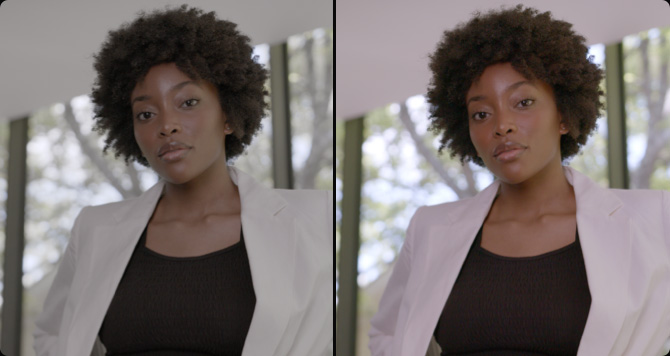
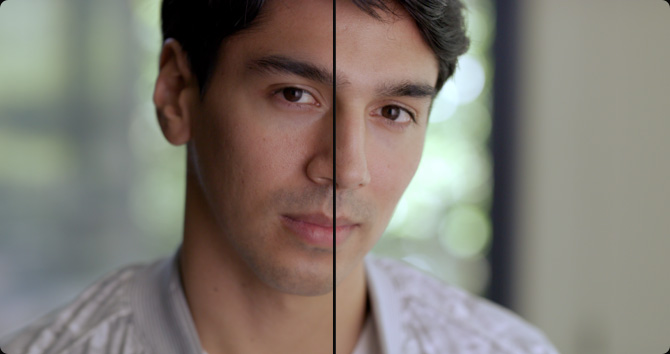
Original Footage
After Primary Adjustment
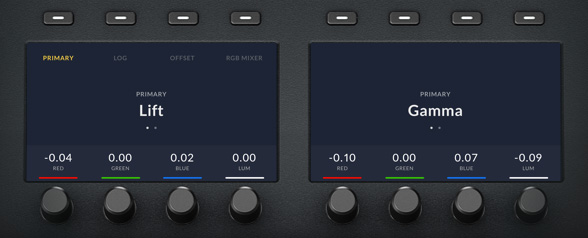
Primary Color Correction
Primary bars allow more subtle changes to individual color channels and luminance than trackballs. DaVinci Resolve Mini Panel and Advanced Panel let you adjust primary bars in their displays. Rotate several knobs at once to quickly achieve a look without having to switch between bars with a mouse.
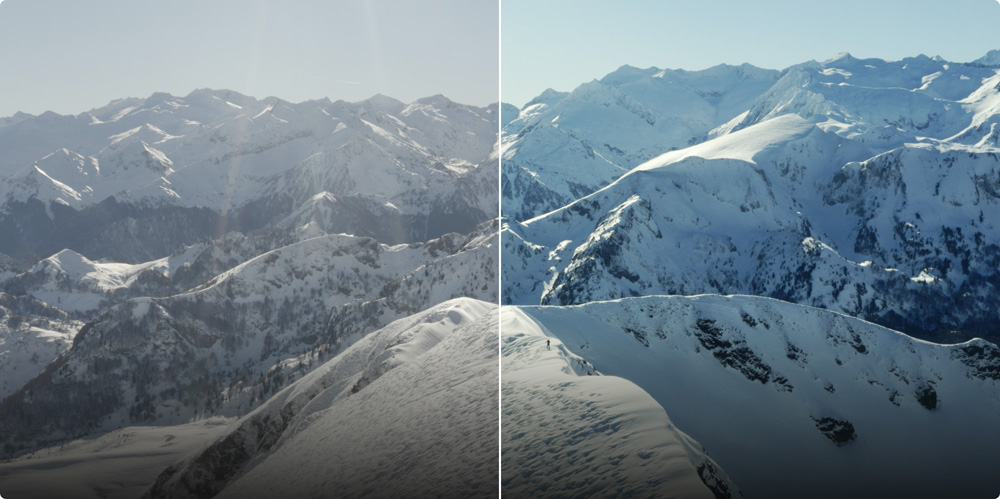
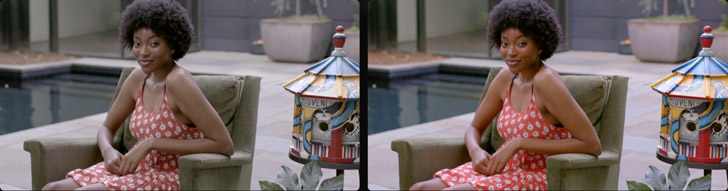
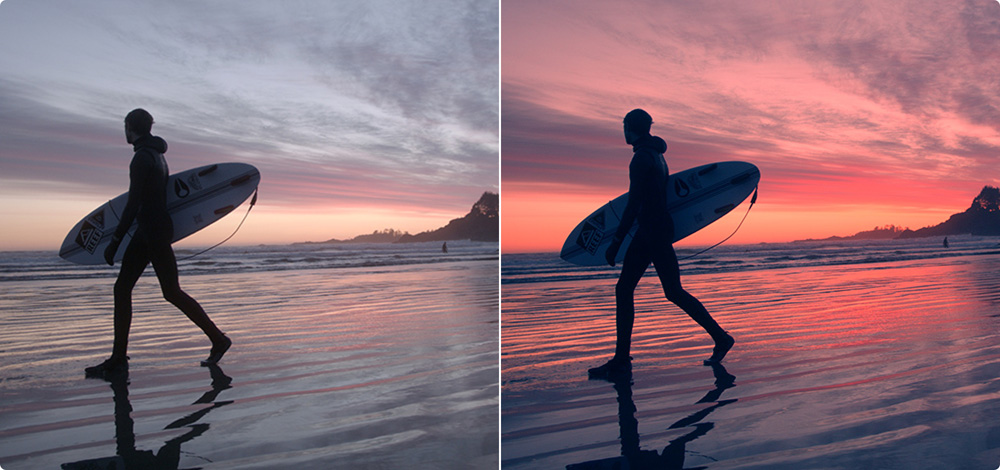
Original Footage
After Curves Correction
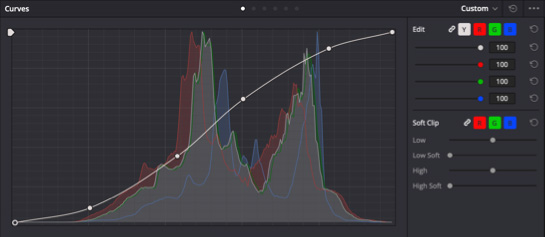
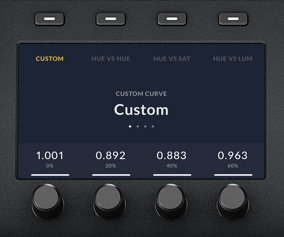
Custom and HSL Curves
Custom curves can be used to make precise adjustments to image luminance and chrominance. Isolate color channels using the buttons above the displays and rotate the knobs to adjust channel luminance in 20% increments. Use the soft keys over the displays to access the full range of HSL curves.
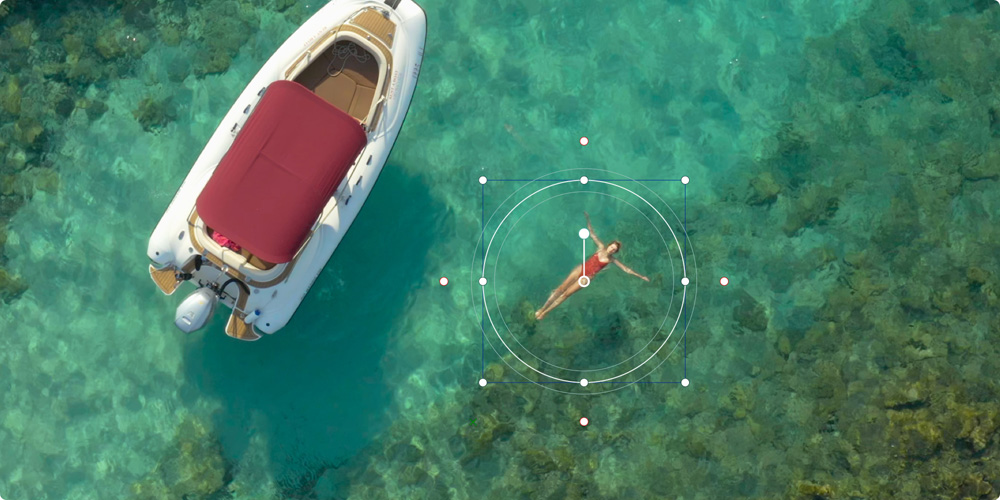
Power WindowsTM
The Advanced and Mini Panels let you create Power Windows, which are shape based objects used for targeting corrections to a part of the image. You can create different window shapes such as squares, circles, polygons, or gradients! Then position, resize and grade the windows with the primary tools.

Original Footage
Selection
Adjusted Image
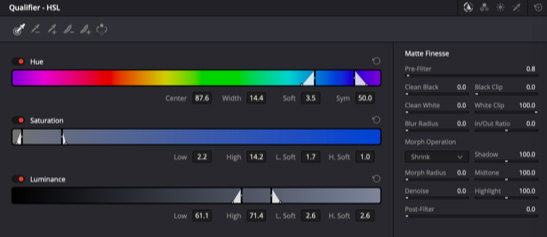
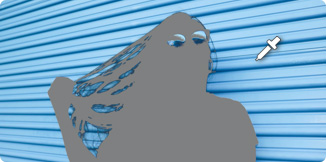
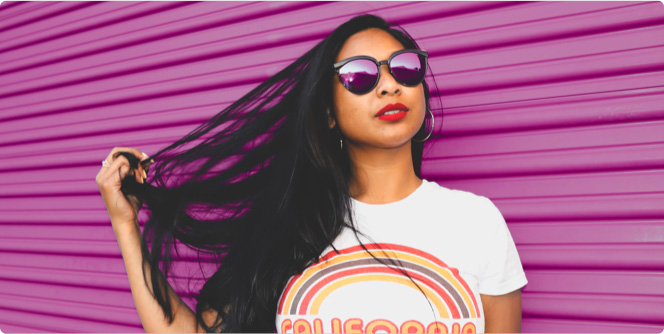
Qualifiers
The qualifier tool isolates a portion of the image based on a combination of ranges for hue, saturation or luminance. Press the qualifier button, then choose a qualifier mode and make a key selection. Once a selection is made, use standard primary tools to make adjustments in the selected area.
Tracking
The tracking controls can be used to analyze a moving object in a scene so that it can be followed. For example, you could draw a bezier Power Window around a car and then track it through the shot. Once tracked, whatever primary color correction you add to the Power Window will follow the car.
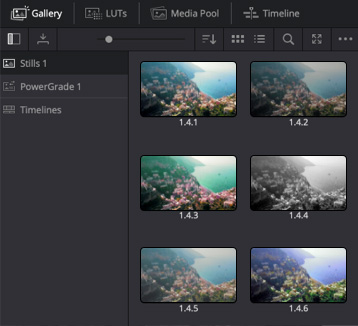
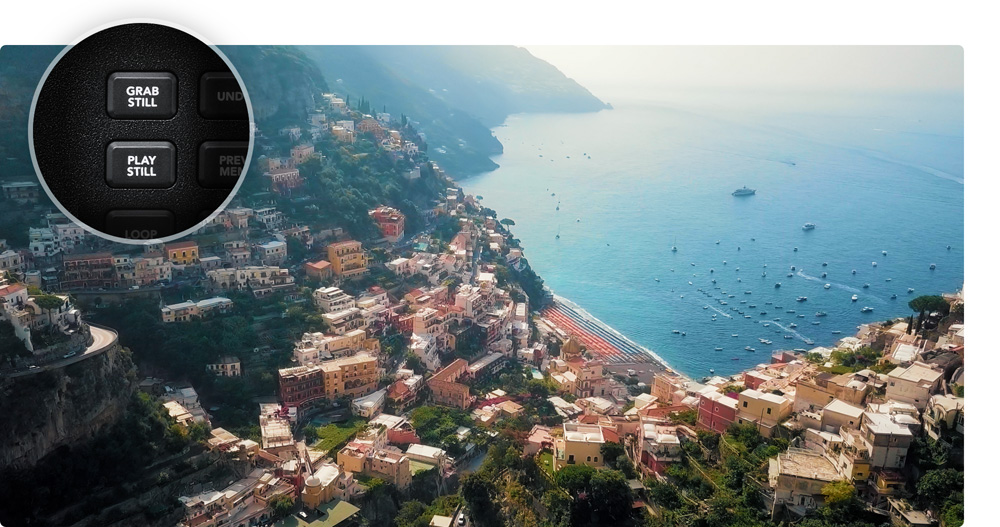
Still Store
The still store saves color corrections in the gallery, along with a preview, so you can re apply it to other clips later. DaVinci Resolve color panels have keys to quickly save, preview and recall stills. The DaVinci Resolve Advanced Panel has a T‑bar fader to wipe between stills for comparisons.
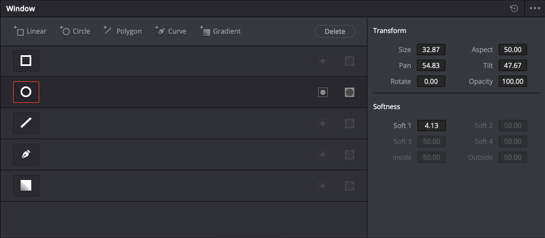
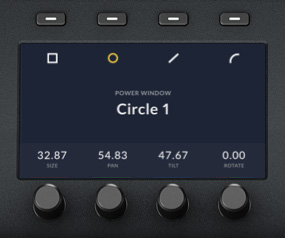
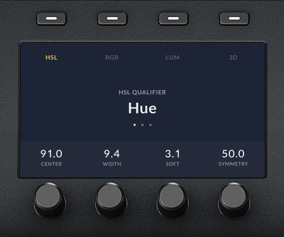
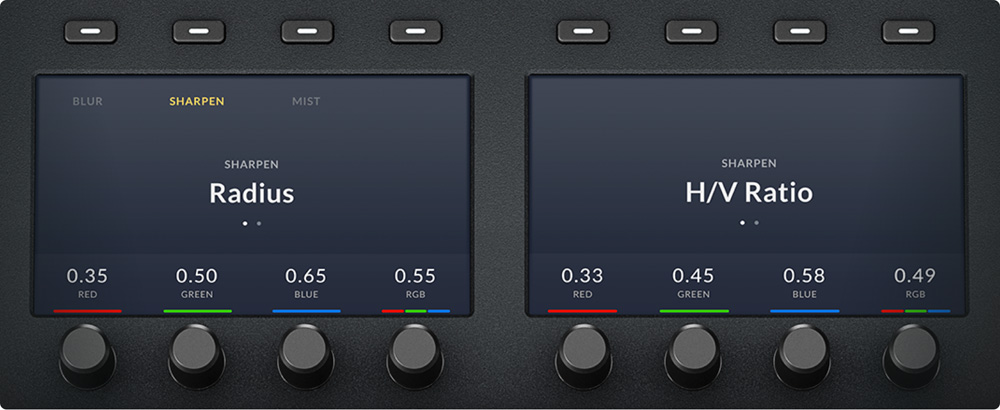
High Resolution Displays
Color displays on the DaVinci Resolve Mini Panel and DaVinci Resolve Advanced Panel give you precise control over tools in the color page. On the Mini Panel, when a palette is selected from the list of keys, the screens display its unique interface and settings. Use the arrow keys to navigate between a palette’s modes or pages. The soft keys above the displays let you isolate channels, choose presets, or perform other feature selections specific to the palette type. The soft knobs under the displays can be used to make parameter adjustments. You can generate preset Power Window shapes and track them without touching your mouse! All changes made in the displays are visible on the color page.
Illuminated Keys and Soft Knobs
Grading tends to be performed in low light conditions to ensure a more accurate representation of colors in the grading monitor. The keys and soft knobs on the DaVinci Resolve color panels illuminate when selected so you can easily see which controls are active in low light. On the DaVinci Resolve Mini Panel and Advanced Panel, the keys are also backlit so it’s easy to find and press each button. The backlight color of the Advanced Panel keys can even be customized. With 30 customizable soft knobs on the DaVinci Resolve Advanced Panel and 8 on the DaVinci Resolve Mini Panel, you get high resolution, flexible parameter adjustments that you can reset back to the default with a simple push.